Under-Sink Water Filter Installation Guide for Florida Homes
By James Evans
## Under-Sink Water Filter Installation Guide for Florida Homes
Tampa Bay's municipal water is treated and meets federal safety standards, but many homeowners notice the taste and odor of chloramine, the disinfectant used by Tampa Bay Water. Elevated hardness and occasional sediment are also common. Under-sink water filters address these concerns at the point of use without whole-house treatment costs. Best Bay Services installs and services water filtration systems throughout the Tampa Bay area.
### Types of Under-Sink Filter Systems
**Single-stage filters:** One cartridge handles sediment, chlorine, and basic taste/odor improvement. These are compact and inexpensive but offer limited filtration depth. Good for improving taste without a major installation.
**Multi-stage filters:** Two or more cartridges in sequence, each targeting different contaminants. A common sequence is sediment pre-filter, activated carbon block (chloramine and VOCs), and a post-filter. These produce noticeably better water than single-stage systems.
**Reverse osmosis (RO) systems:** The most comprehensive option. Water is pushed through a semipermeable membrane that removes dissolved solids, heavy metals, nitrates, and most other contaminants. RO systems include a holding tank under the sink and a dedicated dispensing faucet. They waste two to four gallons for every one gallon produced, which matters in drought conditions but is not typically a concern for Tampa Bay.
### What You Will Need
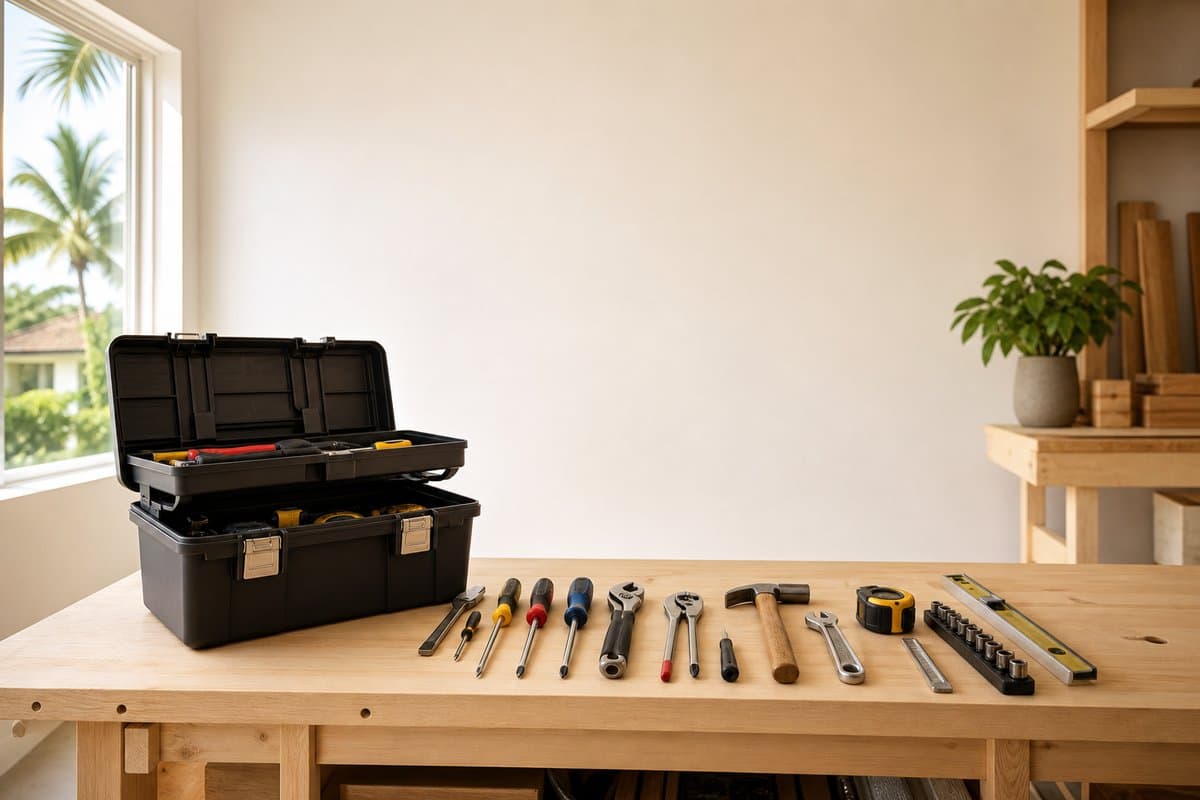
- Under-sink filter system with all components
- Adjustable wrench or basin wrench
- Drill and bits (for the dispensing faucet hole, if required)
- Teflon tape
- Bucket and towels
- Needle-nose pliers
- Saddle valve or push-fit tee fitting (for RO feed connection)
- Safety glasses
### Shut-Off Location
Before starting, locate the cold water shut-off valve under the sink. If your sink does not have an individual shut-off (common in older Florida homes), you will need to shut off the main water supply.
### Installing a Standard Under-Sink Filter (Single or Multi-Stage)
Most standard under-sink filters connect inline on the cold water supply line between the shut-off valve and the faucet supply tube.
**Step 1: Clear the cabinet.** Remove everything from under the sink and place a bucket under the existing supply connections.
**Step 2: Shut off the cold water.** Turn the cold water shut-off valve clockwise until it stops. Open the cold faucet above to relieve pressure and drain residual water.
**Step 3: Disconnect the supply tube.** The cold water supply tube connects to the bottom of your faucet's cold water port. Unscrew the nut connecting it to the faucet shank. Have a towel ready -- residual water will drain out.
**Step 4: Connect the filter inlet.** The filter system includes feed-water tubing. Connect the upstream end of this tubing to the cold water shut-off valve output, using the compression fitting or push-fit adapter provided. Apply Teflon tape to any threaded connections.
**Step 5: Connect the filter outlet.** Run the downstream tubing from the filter output back to the faucet cold water port using the included adapter and nut.
**Step 6: Mount the filter housing.** Most housings mount to the cabinet wall or floor with the included bracket. Keep the housing accessible -- you will need to reach the bottom to swap filter cartridges every six to twelve months.
**Step 7: Flush and test.** Slowly turn the cold water supply back on. Check all connections for leaks before closing the cabinet. Run cold water for two to three minutes to flush the new filter cartridge and purge any carbon fines.
### Installing a Reverse Osmosis System
RO systems add two steps: connecting a feed water saddle valve and installing a dedicated dispensing faucet.
**Feed water connection:** Most RO kits include a saddle valve that clamps onto the cold water supply line and punctures it with a needle. Saddle valves are controversial because they are prone to leaking over time. A better approach is to use a push-fit tee fitting (like SharkBite) on the cold supply line, which provides a more reliable connection. Install the tee, run the small-diameter feed line to the RO unit's inlet.
**Dispensing faucet installation:** RO systems dispense through a separate faucet, not the main kitchen faucet. Many kitchen sinks have a pre-drilled hole covered by a knockout plug for a soap dispenser or spray head. This is the ideal location for the RO dispensing faucet. If no knockout hole exists, you will need to drill a hole in the sink deck or countertop. Stainless steel sinks can be drilled with a step drill bit and cutting oil. Composite or granite countertops require a diamond hole saw.
**Drain line connection:** RO systems produce wastewater that drains through a small-diameter tube. The standard connection is a drain saddle that clamps onto the drain tailpiece (the vertical pipe between the drain strainer and the P-trap). Avoid connecting the drain line downstream of the P-trap -- backflow from the trap can contaminate the system.
**Tank connection:** The RO holding tank connects to the system via a ball valve. Keep this valve accessible so you can shut it off for filter changes.
### Common Installation Mistakes in Florida Homes
**Connecting to the wrong supply line.** RO systems should only connect to cold water. Hot water damages the membrane rapidly. Some under-sink configurations have both hot and cold supply tubes close together -- confirm you are on cold before cutting.
**Using a saddle valve on a corroded supply line.** Older copper supply lines in Florida homes are sometimes soft or pitted from corrosion. A saddle valve needle can pierce through a weakened wall and cause a failure. Inspect the supply line before installing a saddle valve; if the copper looks green or pitted, replace the supply line stub-out first.
**Overtightening filter housings.** Plastic filter housing threads can crack if overtightened during cartridge installation. Use the housing wrench provided and tighten by hand until snug, plus a quarter turn with the wrench.
**Skipping the first-use flush.** New carbon filter cartridges release carbon fines when first wetted. Running water for two to three minutes before drinking from the filtered output prevents a gray or black color in the first glasses of water.
### Filter Replacement in Tampa Bay
Under-sink filter cartridges typically need replacement every six to twelve months, depending on your water quality and usage volume. Tampa Bay's moderately hard water (around 180 to 200 ppm) loads carbon and sediment cartridges faster than soft water areas. Set a calendar reminder when you install a new cartridge. For RO systems, the membrane lasts two to three years; pre and post-filters are changed annually.
### Professional Installation Available
Best Bay Services installs under-sink and whole-house filtration systems throughout Brandon, Valrico, Riverview, Seffner, Plant City, Lithia, and Thonotosassa. If the installation involves cutting copper pipe or drilling your countertop, we can handle it cleanly. Call (813) 416-8676 to schedule.
Need Professional Help?
Let James handle it, call for a free estimate today.
James has over 10 years of experience in home repair and maintenance throughout Tampa Bay. He founded Best Bay Services to bring honest, quality handyman work to local homeowners, landlords, and property managers.