Paver Patio Leveling and Resetting Guide for Tampa Bay Homes
By James Evans
## Paver Patio Leveling and Resetting Guide for Tampa Bay Homes
Brick pavers are one of the most common outdoor patio and driveway materials in Tampa Bay's established neighborhoods. Brandon, Valrico, Lithia, and Plant City all have large numbers of homes with interlocking concrete paver driveways, pool decks, walkways, and rear patios installed in the 1990s through the 2010s. As these installations age -- particularly after multiple wet seasons and root growth cycles -- individual pavers or sections develop uneven surfaces that create trip hazards, pooling water, and cosmetic deterioration.
The good news: a paver surface that has settled or heaved does not need to be replaced. Individual pavers can be lifted, the base re-leveled, and the pavers reset with new joint sand to restore the surface to its original condition.
### Why Pavers Settle or Heave in Tampa Bay
Understanding the cause directs the repair approach:
**Sand base migration.** Paver installations use a 1-inch screed sand bed between the base course and the paver surface. Tampa Bay's heavy rainfall washes sand from the bed at any joint location where polymeric sand or joint sand has eroded. After multiple wet seasons, joint erosion can progress until the screed bed thins unevenly, and the pavers above settle as the sand migrates into the base below.
**Root infiltration.** Florida's trees and palms produce roots that migrate horizontally under paver surfaces searching for moisture. Roots pressing upward under a paver section create localized heaving -- a dome or wave pattern in the surface. Brandon and Valrico homes under mature oaks, palms, or podocarpus hedges see root heaving most frequently.
**Soil consolidation.** New construction paver installations placed over fill soil that has not fully consolidated can develop settling areas as the soil compresses over the first several years. Homes in Plant City's Walden Lake and in Lithia's FishHawk Ranch with paver work added after original construction sometimes show this.
**Edge restraint failure.** The plastic edging that retains the outer paver row can heave out of the ground, allowing the edge pavers to spread. This requires re-staking or replacing the edging before resetting the affected pavers.
### Assessment: When to Reset vs. Replace
A settled paver section can be reset if:
- The pavers themselves are structurally intact (not cracked or spalled)
- The base course aggregate below the screed bed is intact (sounds solid, not hollow, when knocked with a hammer)
- The settling is limited in extent (a full section of the installation that has uniformly dropped two to three inches may indicate base failure requiring more extensive work)
A paver section needs base reconstruction if:
- Knocking the pavers produces a hollow sound indicating a void below the screed bed
- The pavers move significantly under foot traffic (rocking, not just lippage)
- Water drains toward the structure rather than away from it, indicating the entire section has settled below grade
### Tools and Materials
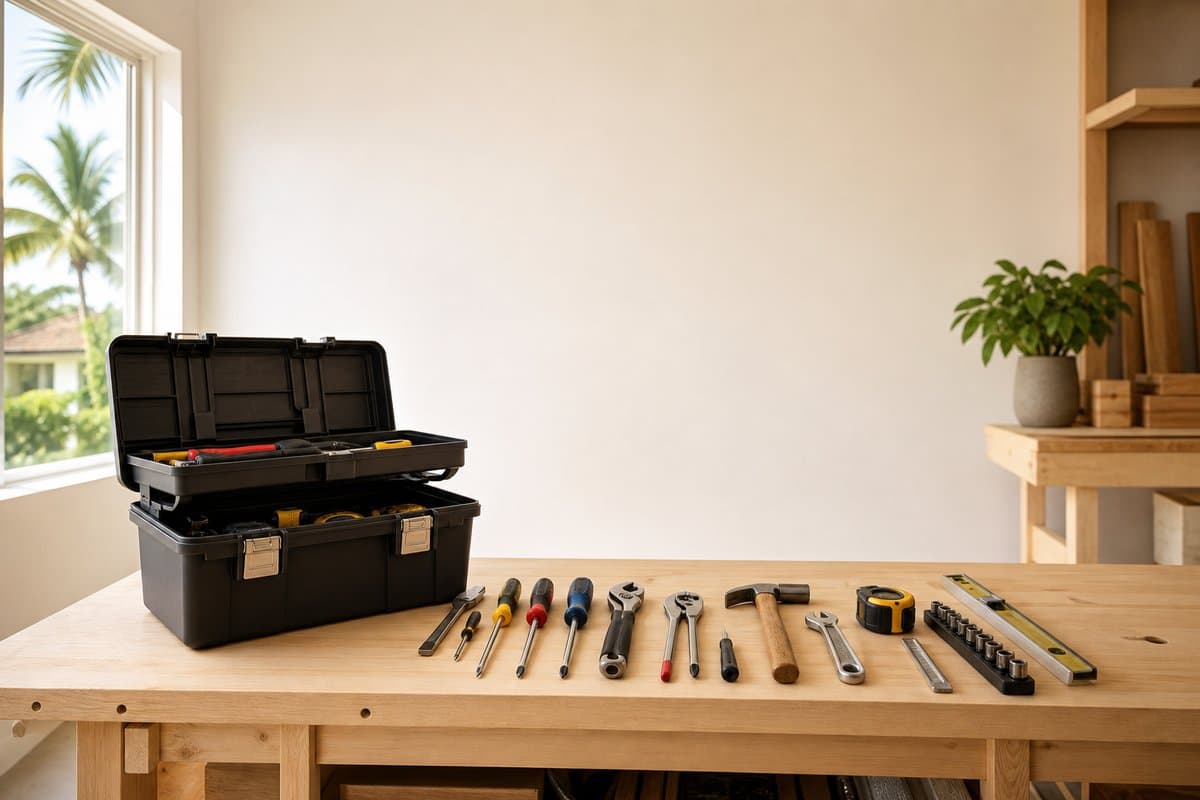
- Pry bar or paver puller
- Rubber mallet
- Level and straight board
- Screed rail or pipe (for re-leveling the sand bed)
- Coarse sand (bedding sand matching the original installation)
- Polymeric sand (for joint restoration)
- Plate compactor (rental, for areas larger than 20 square feet)
- Hand tamper (for small areas)
- Broom
### The Resetting Process
**Step 1: Mark the affected area.** Identify all pavers that need adjustment, including pavers adjacent to the visible low or high spots that may need minor trimming or shimming. Use chalk or masking tape to mark the boundary.
**Step 2: Remove the pavers.** Use a paver puller or flat pry bar to lift the first paver in the section. Once one is out, adjacent pavers lift more easily. Stack them nearby in the original orientation so the installation pattern is maintained. For herringbone patterns, photograph the area first.
**Step 3: Address the root or drainage issue.** If root heaving is the cause, cut the offending root below the base course level and treat the cut end with root kill paint before rebuilding. If the sand washed out from beneath, determine where the entry point was and plan to fill joint sand more fully in that area after reset.
**Step 4: Restore the screed bed.** Add bedding sand to bring the low areas up, rake level, and screed with a straight board to the correct height. For small areas, the screed height can be estimated from the adjacent intact pavers by running a string line level across the area. The target is 1 inch of compacted screed sand below the paver surface.
**Step 5: Reset the pavers.** Place each paver in position and tamp firmly into the screed sand with the rubber mallet. Work from the established edge inward. After all pavers are placed, check the surface with a level and string line, adjust individual pavers by tapping down or adding a pinch of sand beneath low pavers.
**Step 6: Compact.** Run a plate compactor over the area (available at equipment rental yards) to consolidate the installation. For areas smaller than a few square feet, hand tamping is adequate.
**Step 7: Apply polymeric sand.** Polymeric sand hardens when dampened with water and locks the joints against future wash-out. Spread the dry polymeric sand over the surface, sweep into the joints, blow off the excess from the paver faces, and mist with a garden hose. Follow the product's cure time before foot traffic.
### Keeping Joints Intact
The most effective preventive maintenance for Tampa Bay paver patios is inspecting joint sand annually and topping off any eroded joints before the next rainy season. Eroded joints allow water to migrate under the screed bed and begin the sand migration cycle. A pound of polymeric sand in a joint before the summer rainy season is significantly less work than resetting a section after multiple cycles of erosion.
[Pressure washing paver driveways](/blog/pressure-washing-guide-tampa-bay) is effective for cleaning, but should be done at low pressure and followed immediately with joint sand inspection and top-off, since the pressure washer dislodges joint sand along with the organic growth.
### FAQ
**How long does paver patio resetting take?**
A single small area of 10 to 20 square feet where a few pavers have settled can typically be completed in a half-day visit. Larger sections or areas requiring full base reconstruction take longer. Best Bay Services can assess paver resetting for Tampa Bay homeowners. Call (813) 416-8676 to schedule.
**Is paver resetting expensive compared to replacement?**
Resetting existing pavers that are in good condition is significantly less expensive than removing and replacing with new material, which requires new pavers, base aggregate, screed sand, polymeric sand, and edge restraint plus the installation labor. If the pavers are intact, resetting is the right choice.
**What if the pavers keep settling in the same spot?**
Recurring settlement in the same location indicates an ongoing cause -- typically either active root growth under that section, an edge restraint that is allowing the pavers to spread, or a drainage issue directing water under the bed consistently. Addressing the root cause before resetting prevents the same cycle from repeating. Best Bay Services handles paver assessment and resetting throughout Tampa Bay. Call (813) 416-8676.
Need Professional Help?
Let James handle it, call for a free estimate today.
James has over 10 years of experience in home repair and maintenance throughout Tampa Bay. He founded Best Bay Services to bring honest, quality handyman work to local homeowners, landlords, and property managers.