Dishwasher Installation and Replacement Guide for Tampa Bay Homes
By James Evans
## Dishwasher Installation and Replacement Guide for Tampa Bay Homes
Replacing a dishwasher looks straightforward until you discover a corroded supply line fitting, a drain hose that terminates without a high loop, or a 15-amp circuit that is barely adequate for the new unit. Tampa Bay's hard water from the Floridan Aquifer accelerates corrosion on the brass fittings that connect dishwashers to supply lines, and many older Brandon, Seffner, and Plant City homes still have their dishwashers on 15-amp circuits or wired with connections that predate current code requirements. Best Bay Services handles dishwasher installation and replacement throughout the Tampa Bay area.
### How a Residential Dishwasher Connects to Your Home
Understanding the three connection types makes the installation logical:
**Electrical.** Most residential dishwashers require a dedicated 20-amp circuit. Some older units run on a 15-amp circuit shared with a garbage disposal; current code and most manufacturer requirements call for a dedicated 20-amp circuit. The connection is made either at a junction box inside the dishwasher's lower access panel (direct wire) or at an outlet under the sink (cord-and-plug). Florida adopted the 2023 NEC requirement that dishwashers must be cord-and-plug connected or on a circuit with a readily accessible disconnect -- if you are replacing a direct-wired unit, verify whether the circuit has a local disconnect (a switch or the circuit breaker is accessible).
**Water supply.** The dishwasher's supply connection is a 3/8-inch compression fitting or braided stainless supply line connecting to a shutoff valve under the sink. In Tampa Bay's hard water environment, 20-year-old brass compression fittings often corrode enough that attempting to remove the old supply line causes the valve body to leak or fail. Inspect the shutoff valve before beginning; if it is a quarter-turn ball valve that has not been operated recently, test it before disconnecting the dishwasher supply line.
**Drain.** The dishwasher drain hose connects to either an inlet on the garbage disposal body or directly to the drain tailpiece with an air gap fitting or a high-loop routed up under the countertop. The high loop or air gap prevents drain backflow into the dishwasher when the sink drains rapidly. This is a code-required detail that many original installations skip.
### Tools and Materials
Standard dishwasher replacement requires:
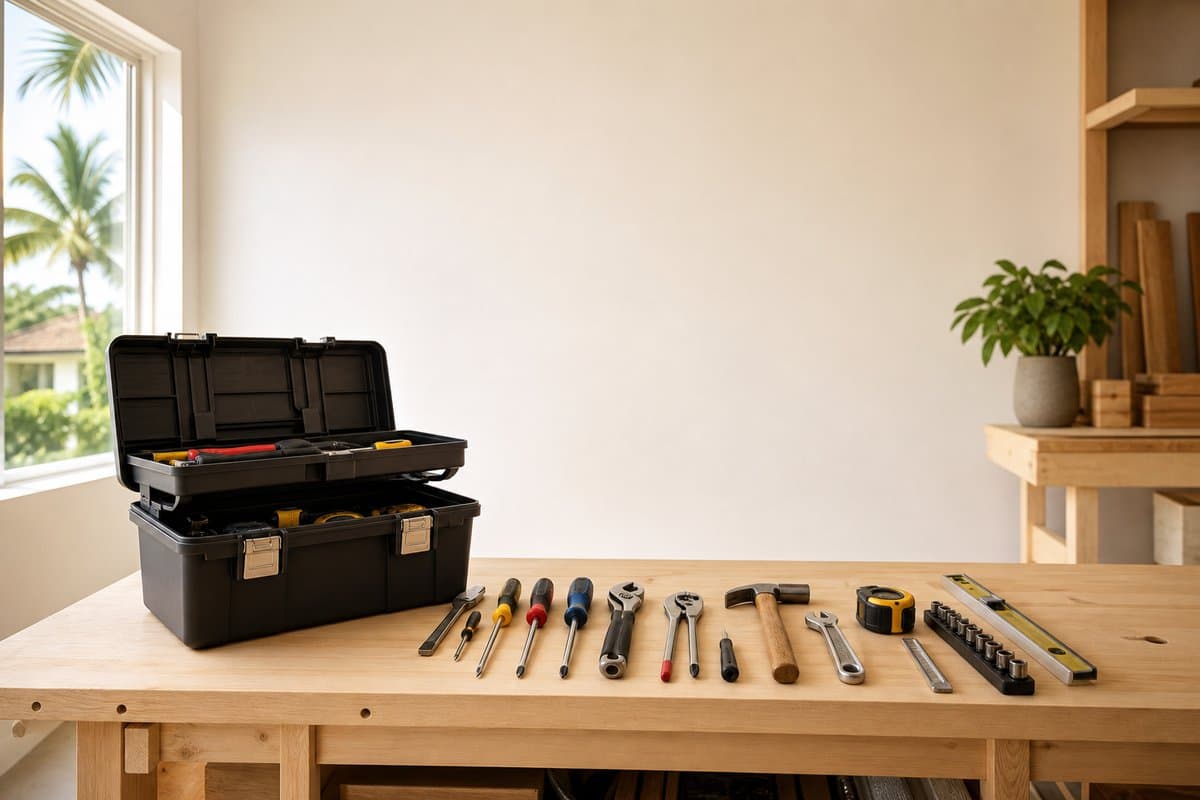
Channel-lock pliers, adjustable wrench, and flathead/Phillips screwdrivers. A utility knife for cutting zip ties and old drain hose clamps. A bucket and towels for residual water in drain and supply lines. Teflon tape for supply line threads. A new braided stainless 3/8-inch dishwasher supply line (replace it whenever the dishwasher is replaced -- old supply lines fail without warning). Wire nuts and electrical tape if the unit is direct-wired.
### The Replacement Process
**Step 1: Turn off power.** Locate the dishwasher circuit breaker and turn it off. Tape it in the off position. Confirm power is off with a non-contact voltage tester at the connection point.
**Step 2: Turn off the water supply.** Close the dishwasher shutoff valve under the sink. If the valve is old or stuck, close the main household shutoff first to avoid a supply line break.
**Step 3: Remove the lower access panel.** The lower front panel of the dishwasher typically removes with 2 to 4 screws. This exposes the supply line connection, the drain hose connection, and the electrical junction box.
**Step 4: Disconnect the supply line.** Place a small bucket under the connection. Use channel-lock pliers to unscrew the supply line nut from the dishwasher's water inlet valve. Expect residual water.
**Step 5: Disconnect the drain hose.** Loosen the hose clamp at the dishwasher drain pump outlet and slide the hose off. The hose runs under the cabinet to its sink-side connection -- trace it and disconnect the other end before attempting to pull the dishwasher forward.
**Step 6: Disconnect the electrical.** At the junction box inside the lower panel, remove the box cover and untwist the wire nuts (direct wire) or unplug the connection. Note which wires are hot, neutral, and ground before separating them.
**Step 7: Remove the mounting screws.** Most dishwashers mount to the underside of the countertop with two screws through a metal or plastic mounting tab at the top of the door frame. Remove these screws. Adjust the leveling legs down slightly if necessary to lower the unit enough to clear the counter lip.
**Step 8: Slide the dishwasher out.** Pull carefully -- the supply line and drain hose may still be snagged. Have help for heavy units.
**Step 9: Inspect the supply valve.** Before installing the new unit, test the shutoff valve by opening and closing it. If it drips or will not close fully, replace it now -- this is the best time, with the dishwasher out of the way.
**Step 10: Position the new dishwasher.** Slide it into the opening until it is about 6 inches short of fully in. Connect the supply line, drain hose, and electrical before pushing fully in.
**Step 11: Connect the supply line.** Install a new braided stainless dishwasher supply line. Wrap the threaded inlet valve port with Teflon tape and hand-tighten the compression fitting, then snug with pliers -- do not overtighten, as the plastic inlet valve threads strip easily.
**Step 12: Connect the drain hose.** Route the drain hose to the air gap or garbage disposal inlet. Secure with a hose clamp. If connecting to a disposal, confirm the knockout plug inside the disposal inlet has been removed -- a new disposal ships with this plug installed, and many installations skip removing it, causing immediate drain failure.
**Step 13: Create the high loop.** If connecting to the tailpiece drain without an air gap, zip-tie the drain hose to the underside of the countertop at its highest point before it descends to the connection. This high loop prevents backflow.
**Step 14: Make the electrical connection.** Connect wires to the new unit's junction box in the same configuration as the original. Use the wire nuts included with the new dishwasher.
**Step 15: Slide the unit in and level.** Push the dishwasher fully in. Adjust the leveling feet until the unit is level side-to-side and front-to-back; a dishwasher that is not level may not drain fully and will develop musty odors. Install the mounting screws into the underside of the counter.
**Step 16: Restore and test.** Turn on the water supply. Restore power. Run a short cycle while watching under the sink for any supply line or drain hose leaks.
### Florida-Specific Issues
**Hard water and supply valve corrosion.** The Floridan Aquifer supplies extremely hard water (10 to 15 GPG) to most of the Tampa Bay service area. Supply line fittings and compression valve bodies on 15-to-20-year-old dishwashers are frequently corroded enough that the connection cannot be disturbed without replacing the valve. Budget for valve replacement when replacing an older dishwasher.
**Garbage disposal inlet plugs.** A garbage disposal that was recently installed or replaced may still have the knockout plug in the dishwasher inlet. This is the single most common cause of immediate drain failure after a dishwasher installation. Confirm the plug has been removed before connecting the drain hose.
**Unlevel floors in older CBS block homes.** CBS block construction from the 1970s and 1980s often has tile or vinyl floors that have shifted slightly over decades. Level the dishwasher independently of the floor using a bubble level on the door frame, not the floor.
Best Bay Services serves Brandon, Valrico, Riverview, Seffner, Plant City, Lithia, and Thonotosassa. Call (813) 416-8676 to schedule dishwasher installation or replacement.
Need Professional Help?
Let James handle it, call for a free estimate today.
James has over 10 years of experience in home repair and maintenance throughout Tampa Bay. He founded Best Bay Services to bring honest, quality handyman work to local homeowners, landlords, and property managers.