Bathroom Mirror and Medicine Cabinet Installation Guide for Florida Homes
By James Evans
## Bathroom Mirror and Medicine Cabinet Installation Guide for Florida Homes
Bathroom mirrors and medicine cabinets see constant exposure to humidity, steam, and temperature swings in Florida homes. When it is time to replace a fogged or frame-damaged mirror -- or upgrade to a medicine cabinet that adds storage -- proper installation makes the difference between a fixture that lasts and one that fails within a year. Best Bay Services handles bathroom updates throughout the Tampa Bay area, and we see the same installation mistakes repeatedly.
### Choosing Between a Flat Mirror and a Medicine Cabinet
**Flat mirrors** mount directly to the wall and work well over vanities where you want to maximize the sense of space. Florida-rated mirrors use moisture-resistant backing to prevent the black edge deterioration that commonly appears on standard mirrors in humid bathrooms.
**Surface-mount medicine cabinets** attach to the wall face and project outward. Installation is straightforward since no wall cutting is required, but the cabinet depth (usually 4 to 6 inches) can feel intrusive in smaller bathrooms.
**Recessed medicine cabinets** fit into a cavity cut between wall studs, sitting flush or nearly flush with the wall surface. They look more built-in and do not project into the room, but installation requires cutting drywall and confirming that no plumbing, wiring, or blocking occupies the cavity.
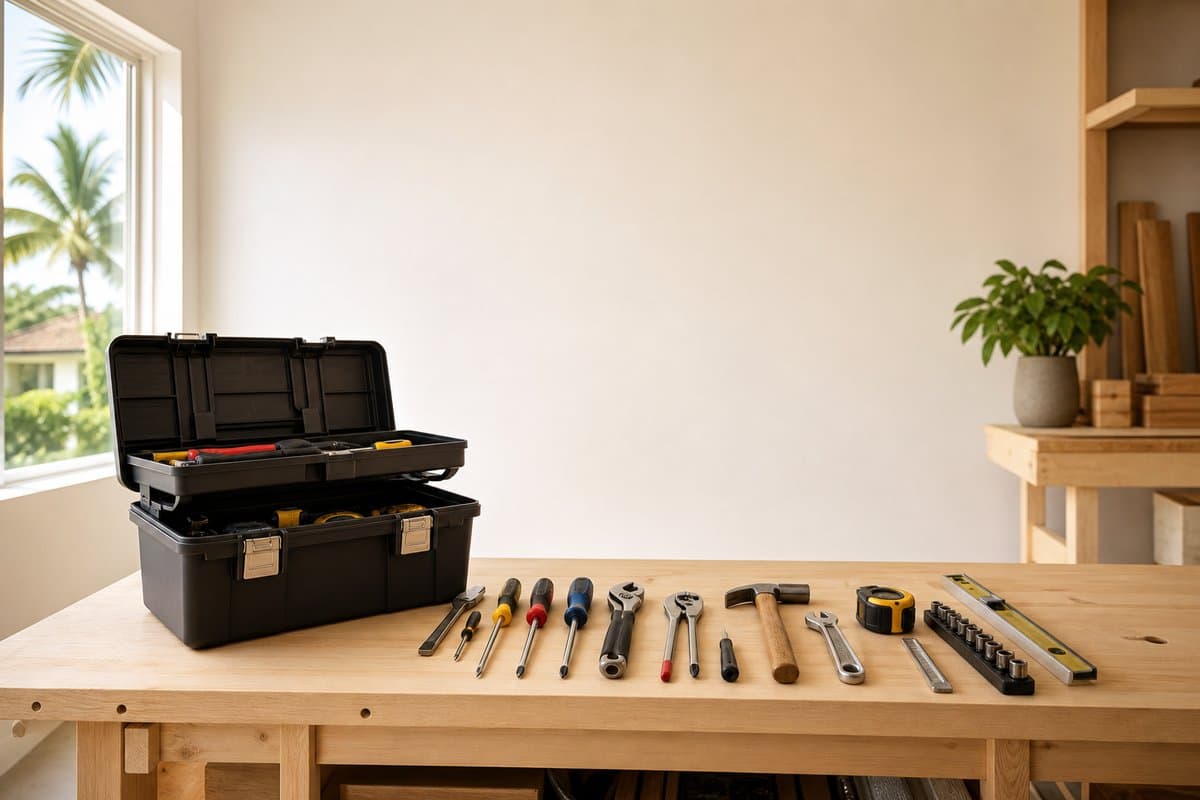
### Tools and Materials Needed
- Stud finder
- Level (at least 24 inches)
- Drill with bits
- Drywall saw or oscillating tool (recessed cabinets)
- Appropriate wall anchors
- Mirror adhesive rated for bathroom use (flat mirrors)
- Painter's tape (to hold mirror during adhesive cure)
- Silicone caulk (for sealing cabinet edges against moisture)
### Installing a Flat Mirror
**Step 1: Mark the layout.** Determine the ideal mirror height -- the center of the mirror should align with the eye level of the primary users, typically 60 to 65 inches from the floor. Mark the top edge location lightly with a pencil.
**Step 2: Find studs.** Use a stud finder to locate studs within your marked area. Whenever possible, drive at least two mounting screws into studs. Stud spacing in Florida homes is typically 16 inches on center.
**Step 3: Use appropriate anchors.** For mounting hardware that falls between studs, use toggle bolts or snap toggles rated for the mirror's weight. Never use standard plastic drywall anchors to hang a mirror -- they pull out under vibration.
**Step 4: Apply adhesive (optional secondary support).** Many installers apply several horizontal beads of mirror-safe mastic adhesive to the back of the mirror as a secondary hold. Use only adhesives labeled safe for mirrors -- standard construction adhesive contains solvents that attack the mirror's silvering over time.
**Step 5: Hang and level.** With the hardware in place, hang the mirror and confirm level before the adhesive sets. Tape the mirror to the wall at several points to hold it while the mastic cures (typically 24 hours).
### Installing a Surface-Mount Medicine Cabinet
Surface-mount cabinets typically have a mounting plate or hanging rail that attaches to the wall, then the cabinet body hangs from it.
**Step 1: Mark the centerline.** Find the centerline of your vanity and mark it on the wall. The cabinet should be centered over the sink.
**Step 2: Locate the mounting height.** Most surface-mount cabinets position the bottom edge 60 to 68 inches from the floor. Mark the mounting hole locations using the template provided with the cabinet.
**Step 3: Drive fasteners.** Use stud-driven screws wherever possible. For locations that fall in drywall only, use snap toggles or other heavy-duty hollow wall anchors.
**Step 4: Hang the cabinet.** Most surface-mount cabinets hang from a rail or keyhole slots. Confirm level before marking final fastener locations.
**Step 5: Seal the perimeter.** Apply a thin bead of paintable silicone caulk where the cabinet body meets the wall. This prevents moisture from wicking behind the cabinet, which causes wall damage and mold in Florida bathrooms.
### Installing a Recessed Medicine Cabinet
Recessed installation adds complexity but produces a cleaner result. Confirm before cutting that no electrical wiring, plumbing, or blocking occupies the target cavity.
**Step 1: Confirm cavity is clear.** Use a stud finder in AC (alternating current) detection mode to check for wiring. In Florida homes, bathroom wiring often runs on the same wall as the vanity. If there is any doubt, use a camera inspection tool or call an electrician to verify.
**Step 2: Cut the opening.** Mark the opening dimensions on the wall. Use a drywall saw or oscillating tool to cut along the lines. Work slowly near the edges to keep the cut clean.
**Step 3: Frame the opening if needed.** If the opening spans more than one stud bay or requires a wider opening than the stud spacing allows, horizontal blocking must be installed between the studs above and below the opening to provide a solid nailing surface.
**Step 4: Slide in the cabinet.** Most recessed cabinets have mounting flanges that nail or screw directly to the studs on each side of the opening. Drive fasteners through the flanges into the studs.
**Step 5: Finish the perimeter.** The gap between the cabinet flange and the drywall edge is typically covered with the cabinet's trim ring or finished with joint compound, tape, and paint. Apply silicone caulk at the final seam to seal against moisture.
### Florida-Specific Considerations
Humidity causes special problems in Florida bathroom installations. Use stainless steel or coated fasteners -- standard zinc-plated screws rust quickly in humid bathroom environments and can stain the wall surface. Choose cabinet interiors with moisture-resistant finishes; bare particleboard shelves swell and delaminate within months in Florida bathrooms. If installing a backlit mirror or a cabinet with integrated lighting, the electrical connection must be made to a GFCI-protected circuit as required by Florida code for bathroom outlets and fixtures within 6 feet of a water source.
### When to Call a Professional
Call Best Bay Services when the installation involves cutting into walls (recessed cabinets) and you are unsure what is behind the drywall, when the existing mirror is adhered directly to the tile or drywall and removal risks surface damage, or when the new fixture requires an electrical connection. We serve Brandon, Valrico, Riverview, Seffner, Plant City, Lithia, and Thonotosassa. Call (813) 416-8676 to schedule.
Need Professional Help?
Let James handle it, call for a free estimate today.
Common Questions
Related Guides
Bathroom Exhaust Fan Replacement Guide for Tampa Bay Homes
How to know when a bathroom exhaust fan needs replacing, what the installation involves, and why proper ventilation matters more in Florida than in drier climates.
The Annual Home Checkup: A Complete Guide for Florida Homeowners
An annual home checkup catches problems before they become disasters. Here is the complete inspection checklist every Florida homeowner needs.

James Evans
Owner & Lead Technician
James has over 10 years of experience in home repair and maintenance throughout Tampa Bay. He founded Best Bay Services to bring honest, quality handyman work to local homeowners, landlords, and property managers.